
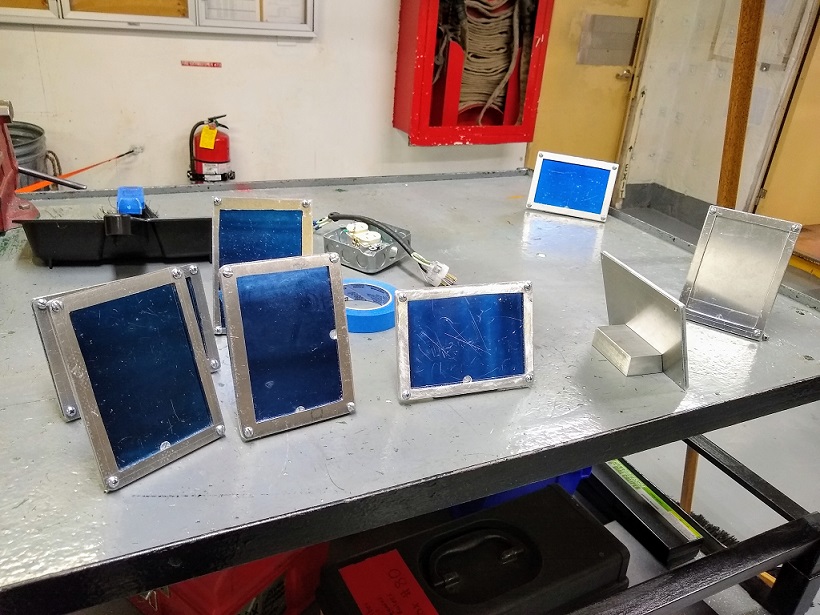
A highlight of Sea Term for 4/C cadets is making a picture frame in the Engine Lab. Not only do they get to use a wide variety of tools in the multi-step process, cadets also leave with a functional souvenir that they made themselves.
This is much more than an arts and crafts activity. The Lab #1 – Metal Work & Picture Frame Project is a graded assignment that all 4/C cadets aboard the TS Kennedy are expected to complete. The cadets must measure, etch, drill, cut, file, and fasten together the components of a steel picture frame based on the instructions of the 1/C Training Rates and their course workbook. Click on the link below for an introduction to the project.
https://drive.google.com/drive/folders/1qBRTWHaEmbfl1ow6ljuJ13XiGaDJ8bHF?usp=sharing
A group of 4/C cadets that had just completed the project, took turns describing the steps that they followed.
“At the start of the lab, we were all given two flat steel plates that will comprise the front and back pieces of the frame itself.”
“Using a ruler and a scribing tool, a ½-inch layout line was etched into the metal around the perimeter of the front plate. This was followed by the etching of a ¼-inch layout line on the front plate and a single line on the bottom of the back plate.”
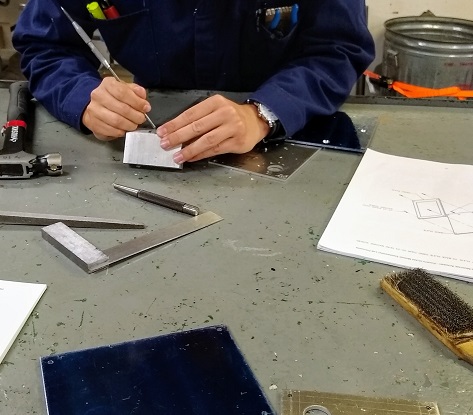
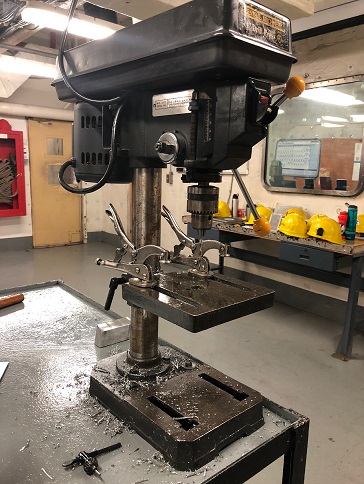
“At the intersection of each line on the front plate (¼-inch perimeter lines), a center punch mark was made. Then we went to the drill press to machine holes into each of these points, as well as the center-point of the line made on the back plate.”
“We could choose whether the orientation of their frame would be landscape or portrait.”
“In the 3/16” hole on the back plate, a counter sink hole was cut into the steel so that when a flathead screw was used to connect the frame to the steel-block stand, it would sit flush.”
“Then we used a tap, a tool used to create threads in each of the holes. Threads are the lines needed for a screw to be able to fasten. The tap tool looks a lot like a giant screw. We used the tap tool to create threads in the holes in the angled block and two plates.”
“Next, we used a hacksaw to carve out the center of the steel. A hacksaw is like the saw that you may have used to cut wood, but it is specially designed to cut plastic, steel, and other metals. This step was very challenging and seemed to last forever. When the center piece is removed, the edges left behind are very rough.”
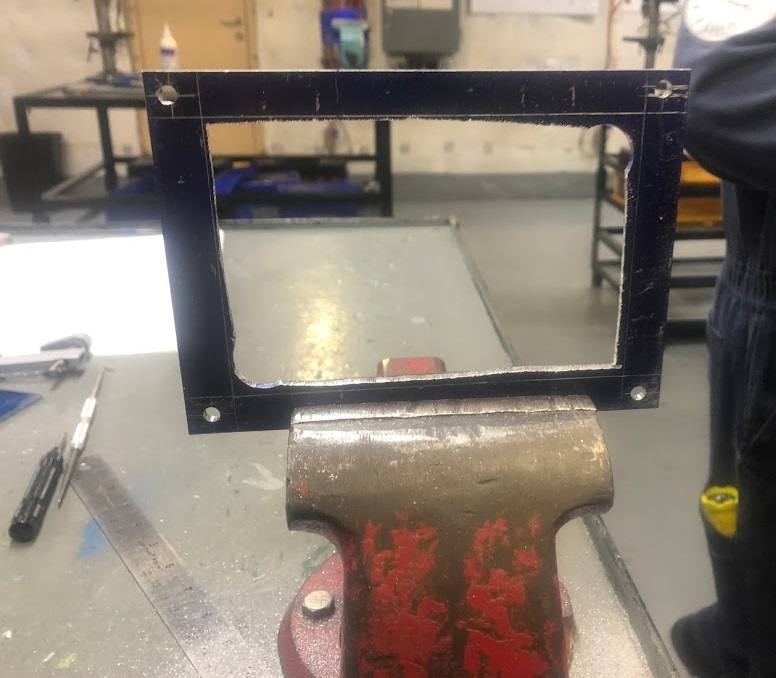
“Then files were used to smooth out the roughness and make sure that everything is level. I thought this was going to be a 30-minute project, but it took me an hour to finish just up to the filing part.”
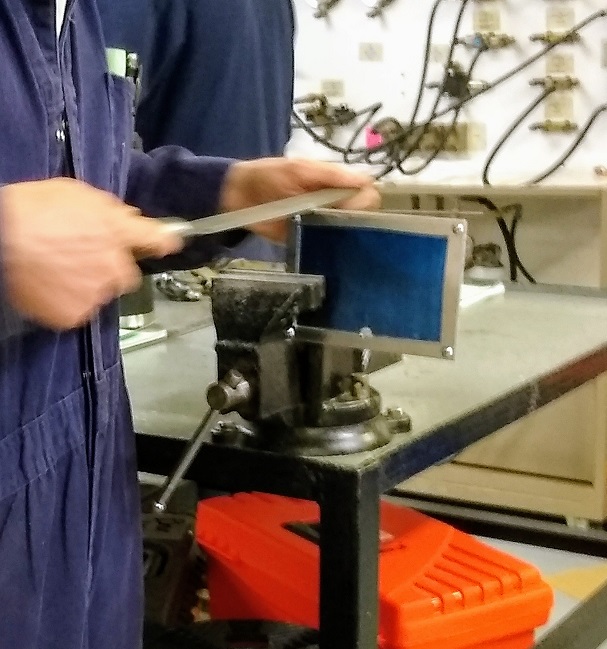
“Finally, we put the frames together using a flathead screwdriver. There were eight ways the two pieces of steel could connect, so you can imagine how frustrating it was. Then we brought our frames to a 1/C Training Rate and they signed our assessment cards.”
Of course, the 1/C Training Rates were on hand throughout the entire process, explaining the tools and offering advice on the best techniques.
The 4/C cadets are proud of their completed frames. Some will gift the frame to a parent, a sibling, a girlfriend, or a boyfriend. Other cadets plan to place a favorite Sea Term photo in their frame.
This project will continue throughout Sea Term as different groups of cadets rotate through the Engine Lab. We look forward to checking in on it again soon.
Teachers: In the past, this project has inspired teachers to make cardboard picture frames with their students, using brads in place of screws. Based on the grade level of their students, teachers incorporated measurement skills.
Teachers have also displayed some of the tools used by the cadets, including screws, a hacksaw, a threader, and a scribing tool. Their students created sketches of the tools and wrote descriptions of their appearances. Some teachers invited parents and grandparents to demonstrate how the tools are used. Even a few school custodians got involved.
We welcome photos or student work samples. Please send them to: ftvsubmissions@maritime.edu